How To Set Up and Organize The Good and the Beautiful Safety Unit Study
This post may contain affiliate links. Please see my disclosure and privacy policy for more information. As an Amazon associate I earn from qualifying purchases.

How To Organize The Good and the Beautiful Science Units
So, the Safety Unit Study packet from The Good and the Beautiful is actually part of their science unit study packets. It is set up in a similar fashion in that it is unit study style. It is divided into seven different lessons, with a specific script and activities. Once you set up your unit study it is pretty much open and go.
I purchased the PDF version for $10 and printed everything myself. You can purchase a physical copy, as well as the one recommended book (which I do not have) from the website. I printed the entire packet, and then gathered the materials I would need to help me organize it.
Scissors

I placed the cover page in the front of my binder, and proceeded to place all of the lesson plan pages into page protectors. I left out the pages that needed to be laminated or cut.

I laminated the items I thought would be handled the most, such as the vocabulary cards and some of the game pieces. I did not laminate everything.

I cut apart most of the items that needed it except for this scavenger hunt. I thought it would be best to cut it apart right before hiding the pieces for the scavenger hunt. They are labeled with where to hide them.

I cut apart and stapled the minibooks together and placed them in a page protector with their corresponding lessons.

I placed my vocabulary cards in the front pocket of the binder. They are easy enough to find when we want to add them to our Safety board.
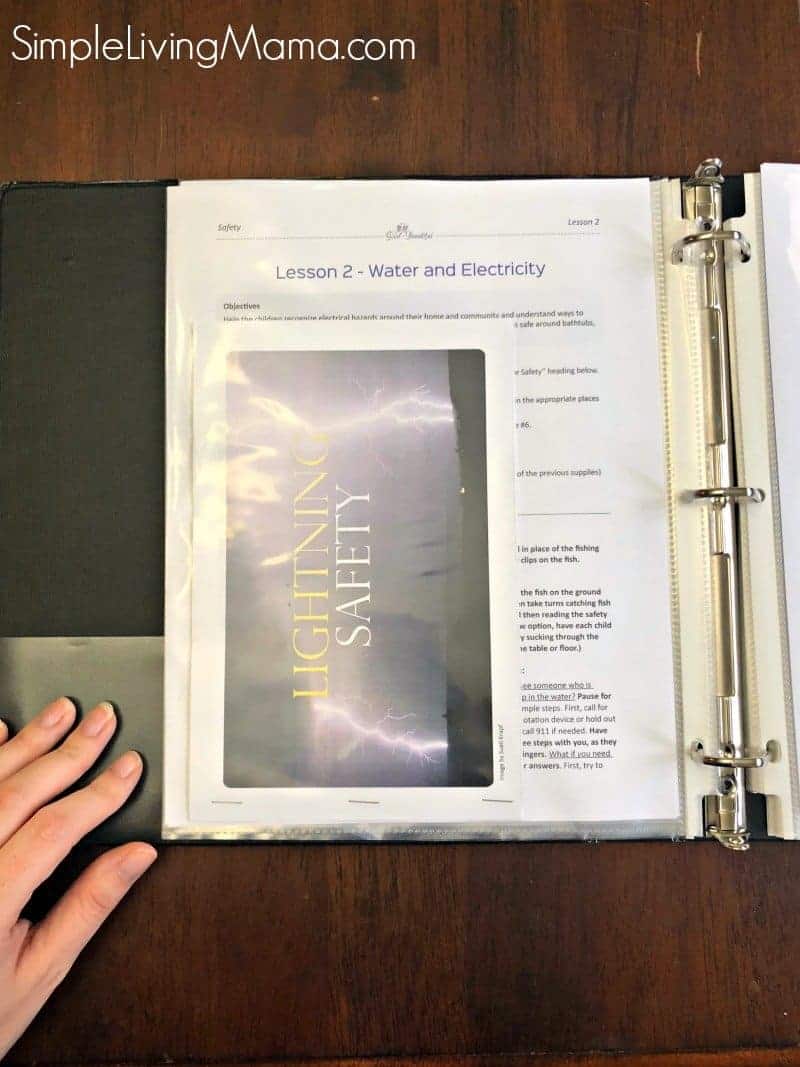
Here is another look at a mini book placed with its corresponding lesson. I put each cut apart printable either in a page protector with the correct lesson, or in a page protector right after the lesson. I prepped the fish with paper clips as mentioned in the preparation instructions.
I did not prep other materials. There actually aren’t a lot of things needed for this unit. Most of what is needed is things we have around the house. I do make a plan every Sunday and will make sure I have all needed materials before we do each lesson.
This is the first official “science unit” we are doing from The Good and the Beautiful. I plan to prep our future units in a similar fashion, although I may gather needed materials and keep them stored in my homeschool closet before we begin the unit.
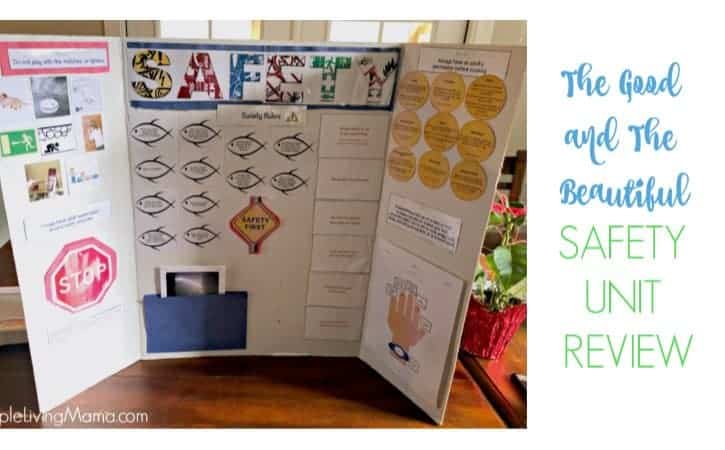
You may also want to see our finished The Good and the Beautiful Safety Review!